


First off, I'd like to say sorry if this isn't the correct section. I couldn't find a section that has to do with XBOX 360 J-Tags.
Hey everyone! Today, I am a giving person. I am giving my tutorial on how to build a DLC file with two programs called: XLAST or Le Fluffie. They work both the same way just different ways to doing them.
Note: This tutorial uses 2 programs might be some out there.
(PROGRAMS NEEDED)
1. Le Fluffie or XLAST
XLAST - (Note: xlast download link will not be released, google it.
2.XM360 to unlock DLC if not working locked.
[DOWNLOADS]
Le Fluffie
XM360
(XLAST TUTORIAL)
1. Firstly, open XLAST.
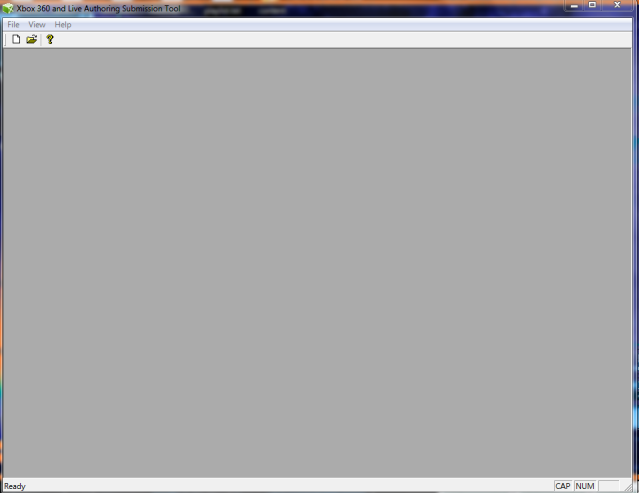
2. File > Content Package
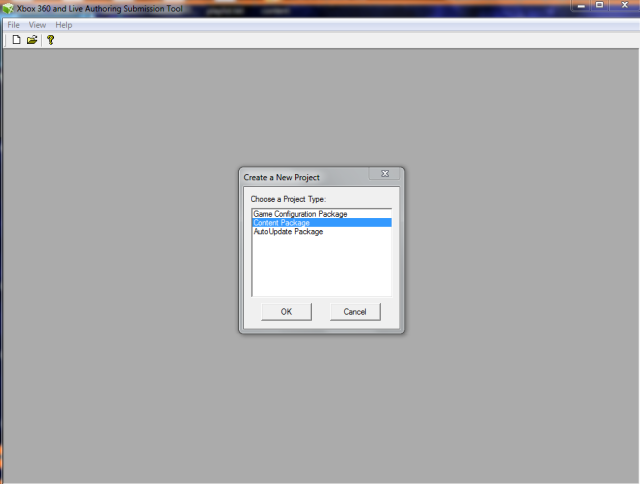
3. Now, it'll look like this.
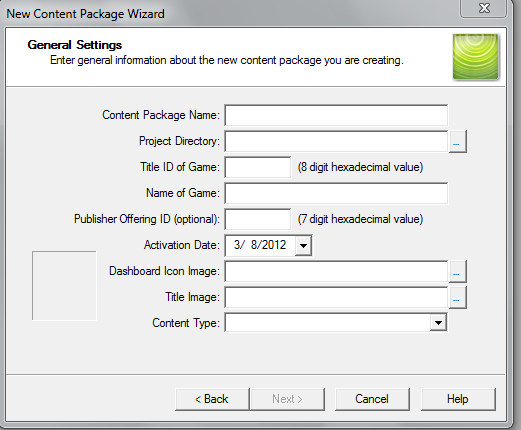
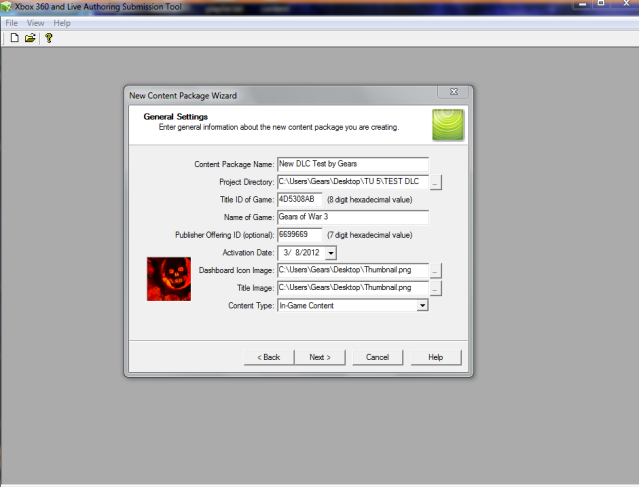
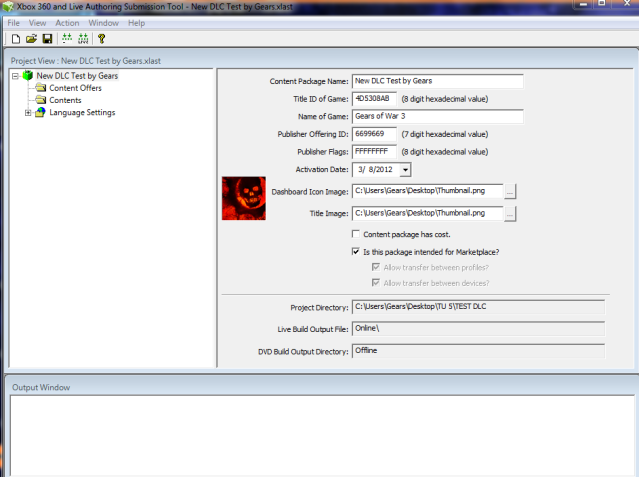
4. Now, add whatever you want your DLC name to be like New Weapon Skins so when people download it and add it to there xbox it will say on the file that name. Project Directory is where you wanna save this dlc at . Title ID Is what the game ID is so for Gears of War 3 its (4D5308AB) add that there .Now Publisher ID is very needed and only uses numbers so use any Random number like (9966221) note this has to be different on any New dlc you want to make.Dash Icon well anything but i use the GOW icon.Content Type you want In-Game Content.
5. Now, it should look like this:
6. Next is the language part. You can choose more than one.

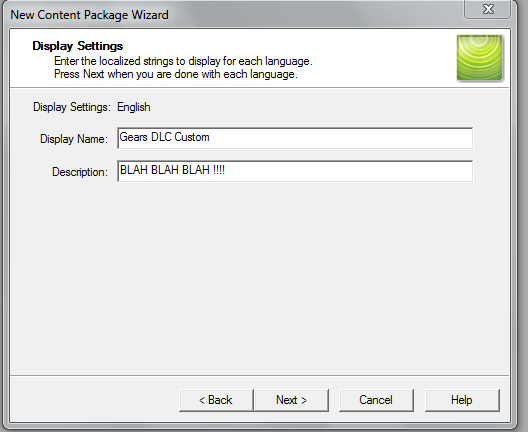
7. Next is the Display Setting, you can put really whatever you want but you have to fill it out both or they will not work at times
8. Now you come to this page .now dont touch anything else unless your running Dev-kit for Pnet Warnings .Now to add your content that you made or wanna add, right click >CONTENT>ADD FILE OR FOLDER> then look for what you want to add then if you wanna add more content just right click content Again . Once Done hit the button right before live one with Arrows to install Local this will not install on your J-tag only on Dev kit dont worry look where you saved the project file and you will see a folder like this
9. If done correctly, the Output window will look like this:

10. Now your done just go to your Project save , and it will have a folder called ONLINE open it then should be a file there is your DLC with the numbers now just install it..
(LE FLUFFIE TUTORIAL)
1. Open Le Fluffie
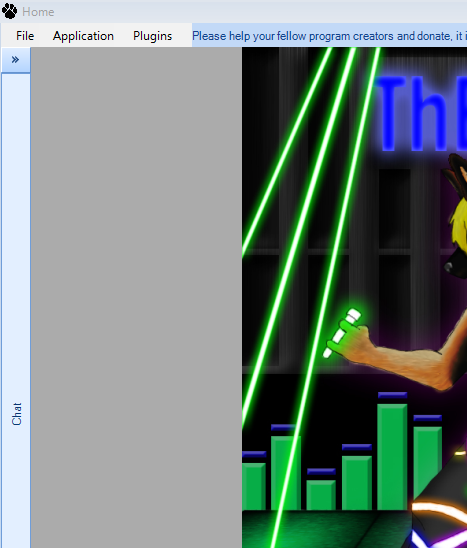
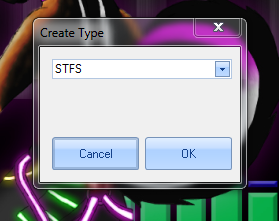
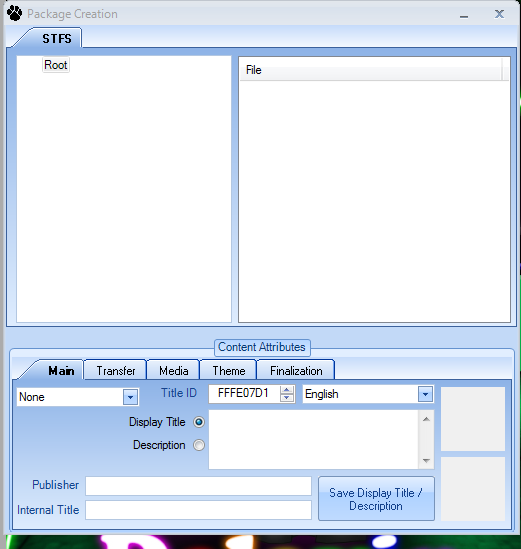
2. GO File>Package Creation it will look like this now pick STFS
3. It will look like this:
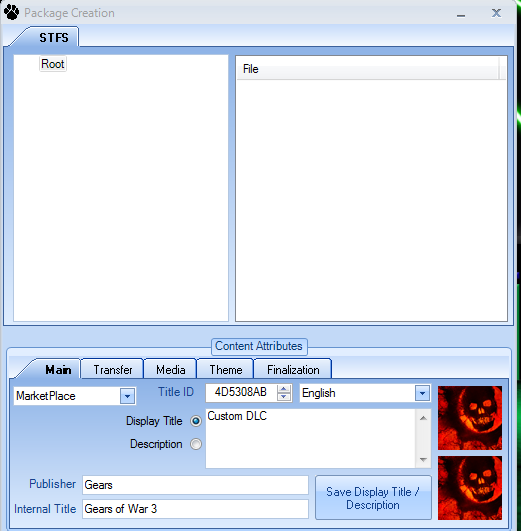
4. First you want to change None to (MARKET PLACE) Now Internal Title is the Game name Please Type it in like the game if not will not work . Publisher is you or whatever you want to put now Title ID is whatever the game is so look it up unless you have a game save or Other DLC with that data load it on Horizon and it will say it , for me ill be using GOW3 (4D5308AB) . Display Title is you custom DLC name so whatever you want it to show up as as for Description anything type in and right click the 2 BOXES to add your ICON pics. It should look like this:
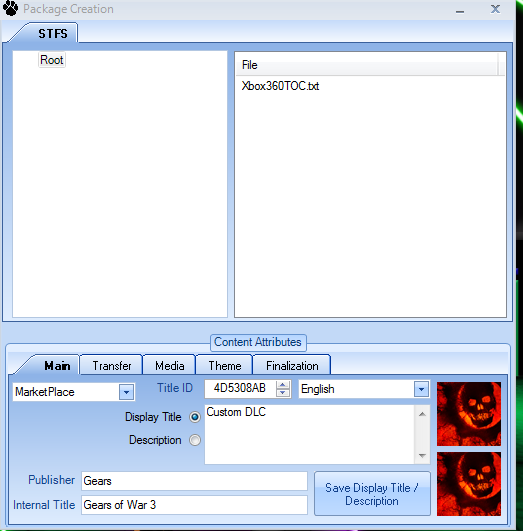
5. Now to add Files to your DLC ,right click on file on the Second Box then add your files if you need to add more files just right click again. This is how it looks with my files:
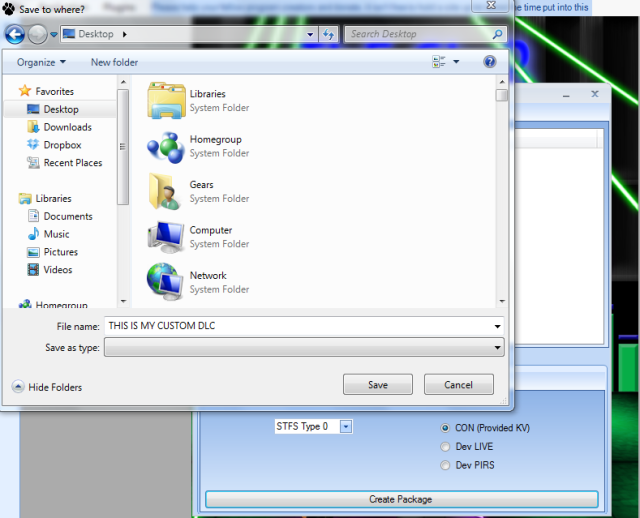
8. It's really easy now once done go to Finalization leave everything as is Leave it on STFS TYPE 0 AND CON then Create Package then you're done!
your are really to play with your New Custom DLC if Any problems no working is you will need XM360 TO UNLOCK THE DLC
Source: S7
Hey everyone! Today, I am a giving person. I am giving my tutorial on how to build a DLC file with two programs called: XLAST or Le Fluffie. They work both the same way just different ways to doing them.
Note: This tutorial uses 2 programs might be some out there.
(PROGRAMS NEEDED)
1. Le Fluffie or XLAST
XLAST - (Note: xlast download link will not be released, google it.
2.XM360 to unlock DLC if not working locked.
[DOWNLOADS]
Le Fluffie
XM360
(XLAST TUTORIAL)
1. Firstly, open XLAST.
2. File > Content Package
3. Now, it'll look like this.
4. Now, add whatever you want your DLC name to be like New Weapon Skins so when people download it and add it to there xbox it will say on the file that name. Project Directory is where you wanna save this dlc at . Title ID Is what the game ID is so for Gears of War 3 its (4D5308AB) add that there .Now Publisher ID is very needed and only uses numbers so use any Random number like (9966221) note this has to be different on any New dlc you want to make.Dash Icon well anything but i use the GOW icon.Content Type you want In-Game Content.
5. Now, it should look like this:
6. Next is the language part. You can choose more than one.
7. Next is the Display Setting, you can put really whatever you want but you have to fill it out both or they will not work at times
8. Now you come to this page .now dont touch anything else unless your running Dev-kit for Pnet Warnings .Now to add your content that you made or wanna add, right click >CONTENT>ADD FILE OR FOLDER> then look for what you want to add then if you wanna add more content just right click content Again . Once Done hit the button right before live one with Arrows to install Local this will not install on your J-tag only on Dev kit dont worry look where you saved the project file and you will see a folder like this
9. If done correctly, the Output window will look like this:
10. Now your done just go to your Project save , and it will have a folder called ONLINE open it then should be a file there is your DLC with the numbers now just install it..
(LE FLUFFIE TUTORIAL)
1. Open Le Fluffie
2. GO File>Package Creation it will look like this now pick STFS
3. It will look like this:
4. First you want to change None to (MARKET PLACE) Now Internal Title is the Game name Please Type it in like the game if not will not work . Publisher is you or whatever you want to put now Title ID is whatever the game is so look it up unless you have a game save or Other DLC with that data load it on Horizon and it will say it , for me ill be using GOW3 (4D5308AB) . Display Title is you custom DLC name so whatever you want it to show up as as for Description anything type in and right click the 2 BOXES to add your ICON pics. It should look like this:
5. Now to add Files to your DLC ,right click on file on the Second Box then add your files if you need to add more files just right click again. This is how it looks with my files:
8. It's really easy now once done go to Finalization leave everything as is Leave it on STFS TYPE 0 AND CON then Create Package then you're done!
your are really to play with your New Custom DLC if Any problems no working is you will need XM360 TO UNLOCK THE DLC
Source: S7